
How to Create a Custom Solana Token with Metadata (Using Token-2022)?
If you have your Solana CLI set up and you are ready to launch your own digital asset, the new Token-2022 standard (also known as Token Extensions) is the way to go. It offers built-in metadata support directly at the mint level, meaning you no longer need to rely on external programs like Metaplex just to give your token a name and a picture.
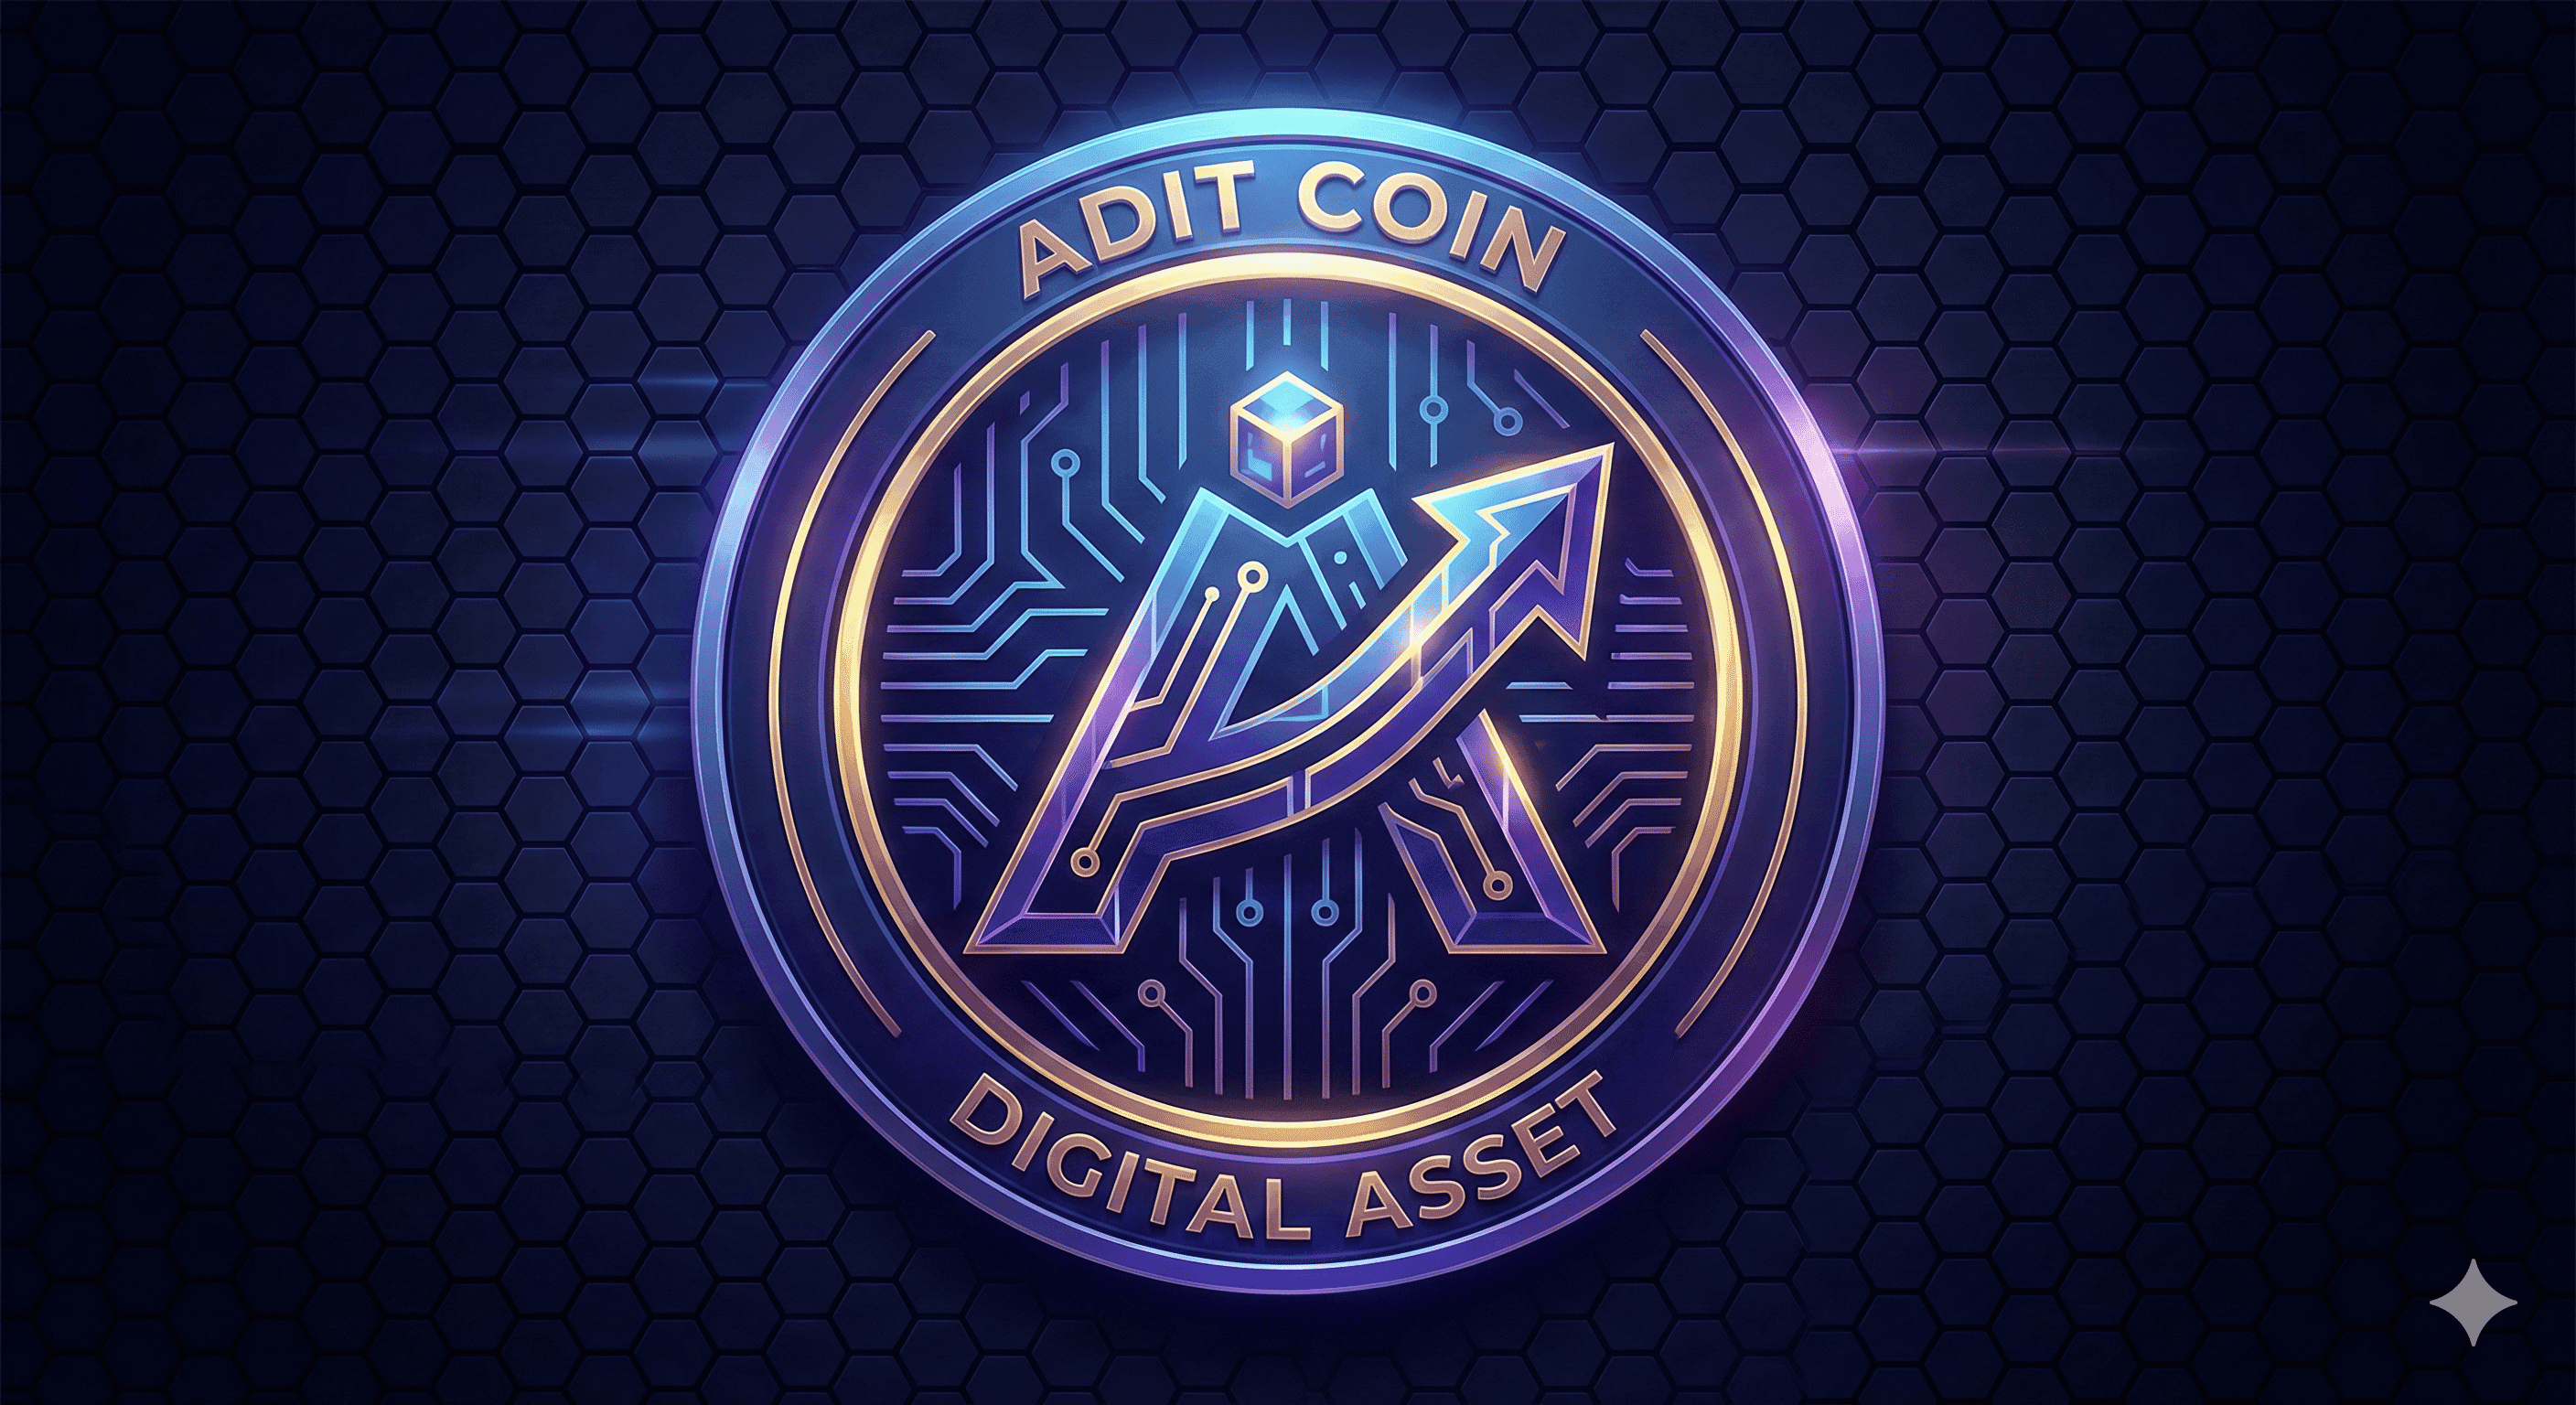
In this guide, we will walk through the exact terminal commands to create a token—we'll use Adit Coin (ARDT) as Aditya Raj De Token —mint an initial supply, and link it to its metadata.
Step 1: Create the Token Mint
The first step is to create the actual token "blueprint" (the Mint). We need to specify that we are using the new Token-2022 program and that we want to enable the metadata extension. We will also set the decimals to 9 (the standard for most Solana tokens).
Run this command in your terminal:
spl-token create-token \
  --program-id TokenzQdBNbLqP5VEhdkAS6EPFLC1PHnBqCXEpPxuEb \
  --enable-metadata \
  --decimals 9
What happens next:
The CLI will generate a unique address for your token. In our example logs, this returned BTJ4cPPwssx6b7jy9GoUyBeLBxufyCSoUzvuegEUCVx8. Keep track of this address; you will need it for the next steps!

Step 2: Create an Associated Token Account (ATA)
Before you can actually mint (create) any of these new tokens, your wallet needs a specific sub-account designed to hold them. Think of it like opening a specific currency pocket inside your main wallet.
Create the account using your new token address:
spl-token create-account BTJ4cPPwssx6b7jy9GoUyBeLBxufyCSoUzvuegEUCVx8
What happens next:
You will receive an output with your new Associated Token Account address (e.g., HJPewMqabd4gnqmTQwiwNiHCQV14ETjVsn7spTiEpiAN). This is where your newly minted tokens will land.
Verify Here:

Step 3: Mint Your Tokens
Now it's time to bring your tokens into existence. You can mint tokens in batches or all at once. Let's mint an initial batch of 100 tokens, and then another 100 just to be sure everything is working.
Bash
# First Mint
spl-token mint BTJ4cPPwssx6b7jy9GoUyBeLBxufyCSoUzvuegEUCVx8 100

# Second Mint
spl-token mint BTJ4cPPwssx6b7jy9GoUyBeLBxufyCSoUzvuegEUCVx8 100
Verify Here:

What happens next:
You successfully generated 200 Adit Coins! They are now sitting safely inside your Token Account.
Step 4: Initialize the Metadata
Right now, the blockchain just sees a string of letters and numbers. Let's give it an identity. We will use the initialize-metadata command to assign a Name, a Ticker Symbol, and a URI (a link to a JSON file hosted on IPFS that contains your token's image and description).
spl-token initialize-metadata \
  BTJ4cPPwssx6b7jy9GoUyBeLBxufyCSoUzvuegEUCVx8 \
  "Adit Coin" \
  "ARDT" \
  "https://identical-amaranth-bear.myfilebase.com/ipfs/QmYKcq66TEop68NiD1brpsUZ7uVyXNK4thbX7nD4c4Rxtm"
Verify Here:

What happens next:
Your token is now fully registered with its on-chain identity! If you look up your token address on an explorer like SolanaFM or Solscan, you will see "Adit Coin", the symbol "ARDT", and the logo pulling from your IPFS link.
Thanks for following along! 🚀
Building and learning in public is a huge part of the journey. Whether you want to collaborate on the next hackathon, discuss Web3 and AI projects, or just talk tech, my inbox is always open.